Pebbles

Showing posts with label mixed media. Show all posts

Sunday, 15 December 2019

Mixed media Waterfall card

I haven't used my blog for absolutely ages mainly because no one visited anymore. Is blogging still a thing?

Anyway I wanted to show this waterfall card that I would like to enter in to the Craft Stamper "Take it , make it " December challenge. 

I've used some gorgeous new Tracey Hey Designs stamps. The sets are called "Let's get dizzy" and "Having it all".

I used the Crafter's Companion waterfall die to make the base.

The background of each image has been made by smooshing Distress Oxide sprays and then stamping the curves over the top. I've added highlights using a white pen. The circles have also been made in the same way and fussy cut. 
I stamped out the main image and coloured them with Spectrum Noir Illustrator pens and then fussy cut them. 

For the bigger backgrounds I have used two Clarity stamp paper pads.

The sentiments have been stamped with versamark and then white embossed onto black card.


Here's the front of the  waterfall card.


Here's page no 2


Page no 3


Page no 4


Page no 5
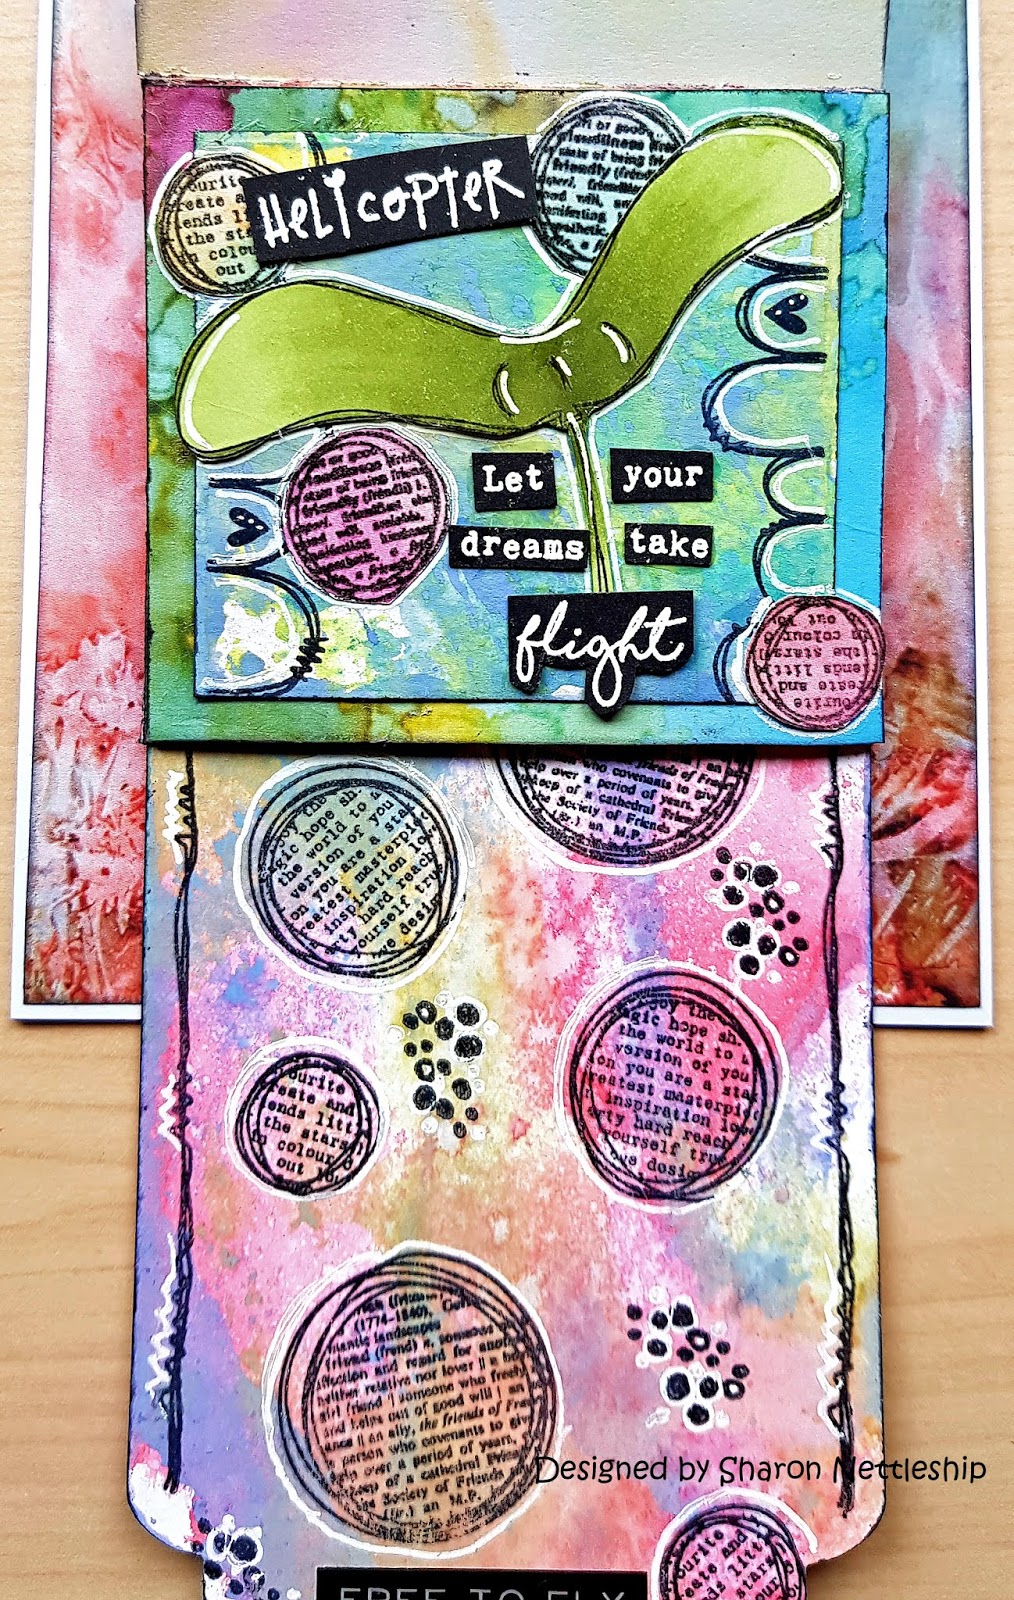


And there you go a lovely mixed media waterfall card.

Sharon
x

Friday, 24 August 2018

Find Your Way


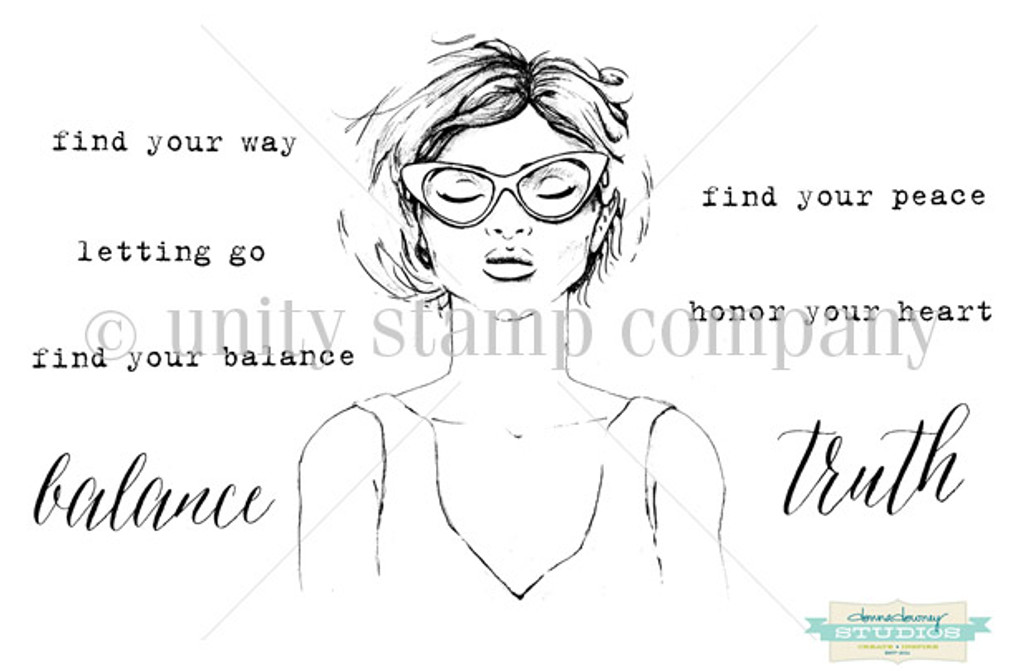
Today's card is quite a big card it's a 7 x 7 as the main image is a BIG stamp. The set is from Unity Stamp Company and is called Colliope and is designed by Donna Downey. It's a great kit to use in your mixed media projects.


Colliope


I made the background with my Gel Press and Brushos. For the accent pieces I used stencils, paint, stamps, bottle tops, credit card,inks and a white pen.
I watercoloured the girl and paper pieced her top.
I find layering up the main image that is mixed media with black card really makes it pop. So that is what I did and I also layered up the sentiments with black card. The girl and sentiments have been adhered to the card with 3D dots.

Sharon
x

Monday, 2 April 2018

More from the Unity Stamps April KOTM

So today the weather was so bad and I was off work so what better way to spend the day than crafting :0)
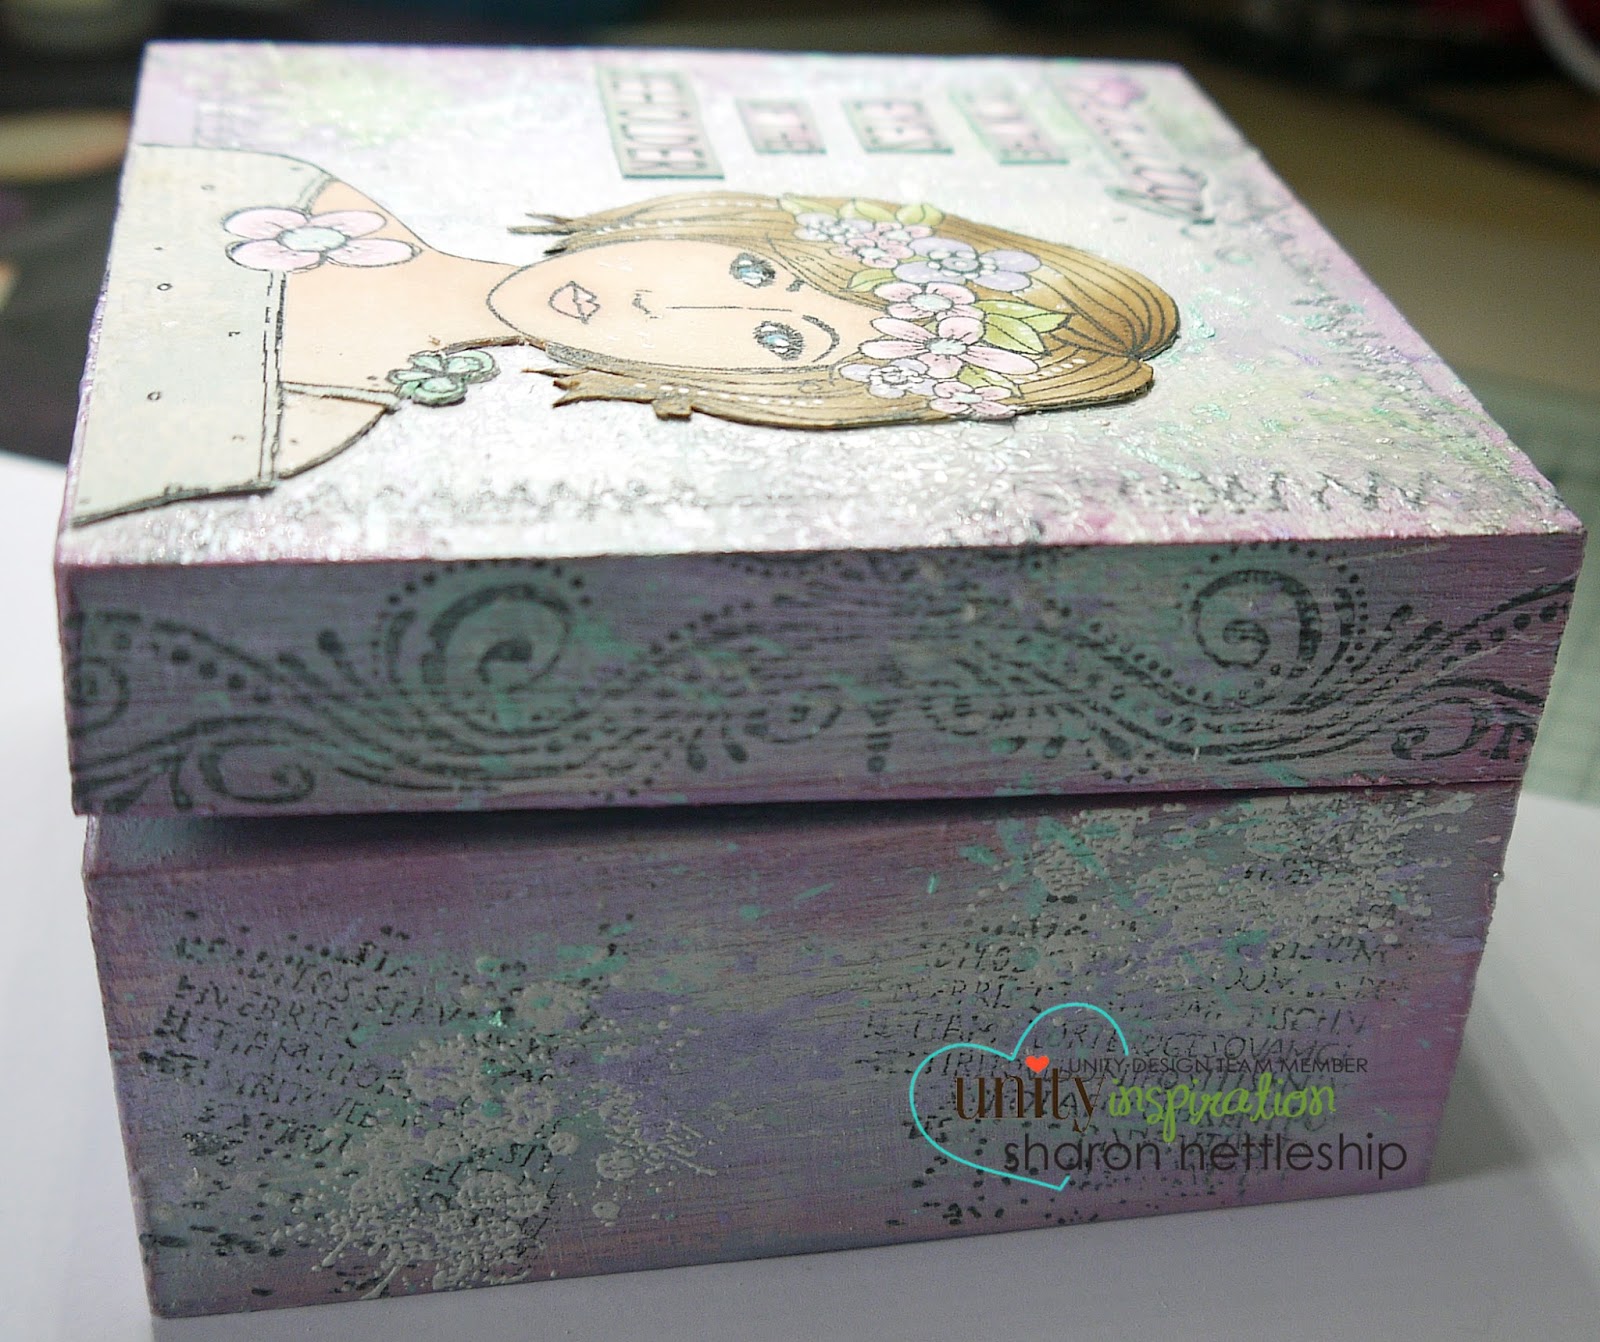
Back to Unity's April Kit Of The Month and this time I used the image of the girl and the eye of the beholder sentiment.
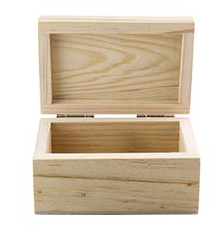
I bought a plain wooden box from The Range for about £1 a few weeks ago. And now I got a chance to use it to make a pretty mixed media box.


(I  had to go outside with the snow coming down to take pics lol)

This is the top of the box.


And here's a side view. 


It's amazing what you can make with just a plain wooden box!

Sharon
x


Sunday, 1 April 2018

Unity Stamps April Kit of the Month


Hey there today's the day for the brand new Unity Kit of the Month for April. It's another stunner!

No automatic alt text available.

Isn't it gorgeous? To start with I've used two images and one sentiment from the kit on just one card. I'm sure I'll be using more in the coming month! 
So I made this mixed media card.


I wanted to get lots of texture on this one so I started off with a layer of cork. (lol it was actually a sunny day in Scotland for a change so I got a bit of a shadow). I also cut out a frame with the cork.
I then took some textured cardstock and stencilled the hexagon pattern onto it with some oxide ink.
The actual front panel is greyboard covered in white top layer so it had the ideal surface to use oxide inks on.
I've used a few different stamps on top including the hive image from the KOTM.  
The main image was stamped onto white card and inked. I went over the bee with another layer of the inks but I watercoloured with them.
The sentiment was stamped onto white card and edged with oxide inks.
Just a few sequins to finish off. 

Look out for more projects featuring the KOTM in the next few days.

Sharon
x

Home Plaque

I've been getting back into my mixed media just lately and after the tea bag art I decided to go for something a little bigger so I made a HOME plaque from greyboard.


I gessoed the whole board to start off with to give it a nice white base. This helps the inks to pop more. 
I then teared up some patterned papers and randomly adhered them to the board. 
Next I added lots of oxide distress inks and used stencils to add a bit of texture along with some white embossing. 
I stamped out the houses onto patterned paper and then cut them out. Each window has some glossy accents added.
I then arranged them onto the board. 
The tree stamp has been stamped straight onto the board and clear embossed. I then coloured the circles and leaves with copic pens.
The sentiment was stamped onto white card and cut out and edged with distress ink.

Stamps: Unity Stamp Company - What Matters Most
Inks: Tim Holtz Distress & Oxide Inks

Sharon
x

Monday, 21 November 2016

Pallet Art and Unity Stamps


So I found this pallet at Hobbycraft, think it was about £3.50 and I wanted to turn it into something crafty.

So here it is in it's bare form. It measures 11.9 x 15.9
Image result for hobbycraft wooden pallet
And here is what I made it into. To be honest I'm not 100% happy with it but I have done a step by step to show you how I made it.


So....


1. I painted the whole of the pallet with Americana Decor Chalky Finish paint in Serene.


2. With a dry paint brush I painted over the blue with DecoArt media Antiquing Cream in white.


3. Using a stencil of your choice and modelling paste apply the paste through the stencil. Mask off the     bits you don't want with low tack tape.


4. So now let your creativity fly!! I first added some torn patterned paper with glue, I then painted        over the paper with some crackle glaze. Using smaller stamps I stamped randomly over the pallet in  black and blue distress ink.  I again used a stencil for the "Create Art". I used the paste, let it dry and  then put the stencil over again and inked through with some distress inks. To create the shadow  around the words I used a pencil to go around the words and then gently smudged it. You can really  use anything you want, inks, stencils, chipboard, embellishments, it's your art use what you feel!


5. Stamp your chosen image, I've used Unity Stamps - Peyton Girl onto white card. Colour her hair and skin with your chosen pens. Then stamp her out onto several different patterned papers and cut out the dress, leggings, shoes etc. Glue these to the original stamped image. Cut around the image and glue onto the canvas where you would like it. I then added some pearls to the flowers and her necklace. Next to help her to blend in with the canvas I smudged in some white gesso around her outline. 


6. To finish off I inked around the edges of the pallet with distress inks.

If you'd like any more details or help please contact me, I'd be happy to help. I hope you've found this helpful. 

Sharon
x


Tuesday, 19 July 2016

Too Much Fun!

I really am loving the DecoArt media paints so much so that I made a canvas.


Image: Unity Stamps - November '15 KOTM
Sentiment: Unity Stamps - June '16 KOTM
Paints: DecoArt Media Acrylic Paints & Tinting Base

Plus stencils, bottle tops, old credit card, brush splats, doodles etc

Sharon
x

Unity Stamps & Mixed Media

Today's make is the result of a little playing around with mixed media. I bought myself some DecoArt media fluid paints and tinting base. I used a blank coaster and primed it with Gesso first. I then used the tinting base, paints and several bits and bobs I already had to make it. The main image and the black background are stamps from June's Unity SMAK kit.


It was messy but I had fun! :0)

Sharon
x

Tuesday, 22 April 2014

All Dressed Up ATCs

I haven't done any ATCs for a long time but decided to have a go to show that the All Dressed Up images aren't just for cards or 3D projects they can be used for mixed media too.


I've used some gorgeous new products (to me anyway) from Globecraft & Piccolo. I've used their gorgeous Enamel powders in various colours. Dare I say I'm finding them better than the frantage I love so much lol.
I've also used some of their Piccolos (the flourishes, butterflies and hearts). They are made from bookboard and will stand anything you put on them. 
The All Dressed Up images are:

Love My Sister there are two girls in this stamp set


Wear with style 2 there are four girls in this stamp set

All are available at the All Dressed Up etsy shop here

they've been coloured with copics, shinhan and spectrum noir pens.

the sentiments are by Sam Poole.

Shary
x


Sunday, 13 October 2013

That Craft Place Challenge

Our challenge at That Craft Place this fortnight is

Think Pink

So I have made another tag.


I made the blank tag with my Cameo and a brand new paper from Papermill. It comes from a Luxury Artist Pad. 20 sheets of A4 300gsm watercolour paper. It holds inks etc really well.
I've used Dylusions ink in Bubblegum, picket fence distress stain and blush gilding wax. All these are available at the That Craft Place shop. The flower and ribbon are also from the shop.

The image is from All Dressed Up and is one of the images from the Wear With Style 2 set. I've coloured her with Copics and a little bit of stickles for her belt. 

The other DT girls have made some gorgeous pink projects too, why not go over and take a look? We'd love to see you join in. 

Shary
x

Tuesday, 19 June 2012

Dad Canvas

Today I'd like to show you a canvas I made for my daughter to give to her Dad on Father's Day. Dylusion inks, acrylic paints, variety of stamps etc.
The image and sentiment are "Wellington" stamps. The image is coloured with Copics.

Saturday, 12 May 2012

Spread your wings Journal page

Here is another art journal page I just finished. A generous lady called Lesley stamped some Dylusion images for me so I thought I'd better get to it and make something. So the background is lots of Dylusion inks, acrylic paints, stamps, rub ons, stencils, masks etc. The image is from Dylusions and she's called Curious Corrin she has been coloured with the Dylusions inks but the face is using Copics. I also put a little lace along the bottom of her dress for a bit of texture. The quote is also another set from Dylusions and if I remember rightly it's called Quintessentials. The butterfly at the top left is stamped onto acrylic and coloured with perfect pearls. Suitcase and wings are from Indigoblo. Oh and forgot that at the very beginning I adhered a napkin onto the blank page to add texture.
Photobucket

Tuesday, 24 April 2012

Her eyes are sad

Today I wanted to show you a tag I made.


I used a plain kraft tag and gessoed on a patterned napkin. Then on went some of the gorgeous Dylusion spray inks. I sprayed them onto my craft mat and then smooshed the tag into them. Next step was to lightly brush over some light acrylic paint leaving some areas bare. I then stamped a butterfly image in black aon the top left and bottom right.
The image is a digi image from My Creative Bliss which I coloured with Copics and a white posca pen. I then sprayed it with glimmer mist. After sticking it to the tag I went around it with a tiny bit of the acrylic paint to tone it into the background. Next I cut out 2 butterflies from a scrapbook paper and stuck them onto the tag. Just cut out the quote and went around this and the whole tag with a little black ink.

Photobucket

Tuesday, 17 April 2012

She Art Canvas

So today I plucked up the courage to finally do a She Art girl freehand. For my other 2 canvases I'd used the She Art die cut. I ran out of the big canvases so this one is just a 7x5.

PLEASE CLICK PIC FOR A BETTER VIEW.


To start with I ripped pages from a papermania portobello pad and modpodged them onto the canvas, I then sprayed some blue and red Dylusions ink over them. Then came the messy bit, various paint, gesso and stencils, stamps, distress stain etc. I then cut the girls face, arms and legs from a book and glued them onto the canvas. Next came the clothes which I cut from the same portobello road pad. I then painted her skin and hair with acrylic paints. More texture with paints, stamps etc followed and then the words. Finally I doodled over the canvas. It came out a bit darker than I wanted it to but hey another lesson learned!!


Photobucket

Friday, 13 April 2012

Uk Stampers Altered Art ATC Swap

Here's an ATC I made a while back for a swap on UK Stampers. You had to make an ATC using anything but paper or card.


So I've used acetate as my base and covered it with alcohol inks. I've then used some gesso for circles to make texture and inked them. Then I used various stamps with white and black ink.
The girls and sentiment are from a collage sheet by Lisa's Altered Art on Etsy. I used a gel medium to apply them. Then lastly went around the edges with a gold pen.


Photobucket

Tuesday, 3 April 2012

April's journal page

I'm showing April's journal page today. Not too much detail in this one as I'm late with it and I did it quickly.
I used Dylusions ink sprays, Papermania paper, stamps and some collage pieces.The April is bare chipboard letters covered in the Papermania paper.


Lol had to put in a bit of writing before I forgot what I did. Such an exciting life!!

Photobucket

Saturday, 31 March 2012

My first canvas

Here's my first ever canvas.

PLEASE CLICK ON THE PIC FOR A BETTER LOOK AND MORE VIBRANT COLOURS.


I loved doing this! Getting really messy and just going for it!! Think I'll be doing a lot more!

Ok after much questioning of people I decided to gesso the canvas first. I then stuck bits of Papermania paper over the dried gesso and used a medium gel to apply it.I then sprayed a little water over the canvas and applied Dylusions inks letting them run a little. After that was dry I applied more gesso through a spotty mask and went over it with some white dabber. I then stamped various images in black colouring the poppy heads in with red pastel. Next came the white pen to add all the highlights and dots. And then the She Art collage pieces which I again applied with the medium gel.They looked a bit fresh and new so I smooshed over some of the dylusion inks to blend them in with the background. Oh the bird and branch are a Marianne Designs die. Finally the words which came with the she art collage. I cut them out and went around them with walnut distress ink. Think that's everything!!


Photobucket

Thursday, 29 March 2012

Postcard

This is a first for me today. I picked up some blank postcards in WHSmith to have a go at. Here's what I came up with.


First I smooshed distress stains onto the blank postcard. I then stamped several images from the Papermania urban stamps collections over this with different coloured stains and inks. The birds and notes are from a pad by Papermania called Book Print. I cut them out and went over them with medium gel and again some distress stains. The saying is from a collage kit.

Photobucket

Monday, 26 March 2012

Simon says stamp and show a ......Tag!

My first is "The other girls"


My second tag is called "For god's sake"


And finally my third tag is "Find the beauty"


All the tags have been inked with my new Dylusions ink sprays, really vibrant colours. I've used a variety of stamps and collage pictures and of course my fav texture gesso.

I'd like to enter these tags into the Simon Says Stamp and Show challenge as the challenge is A Tag!
Photobucket

Sunday, 11 March 2012

4 Fab Kids

I bought a great book from Paperchase which I thought would make a good journal. I was right!! It has a kraft front cover and is square. The pages are a good quality and held all my paints, inks etc really well and it only cost me (or should I say hubby! £8.

Here's my first page of my new journal.


I got the idea after finding the art journal threads over on the UKScrappers site and the prompt for this week was numbers. Hence the 4 fab kids title.

I firstly used gel medium all over the page and stuck fragments from an old book over the page. I then put another layer of the gel medium over that. The colours are from some acrylic paints that I picked up at the works. A little tub of about 10 paints for £4, another bargain. Next was gesso through a flower stencil and coloured with inks. Then it was the turn of lots of stamps which I then highlighted with a white pen.
The image is from a collage sheet by Lisa's Altered Art on esty. I did the same thing using the gel medium. I again used the white pen to highlight and then I went around the image with a black pen and smudged it to create a shadow.
The letters and number are chipboard. I distressed stained them and added some of the book fragments.
Finally I inked around the edges.

Photobucket